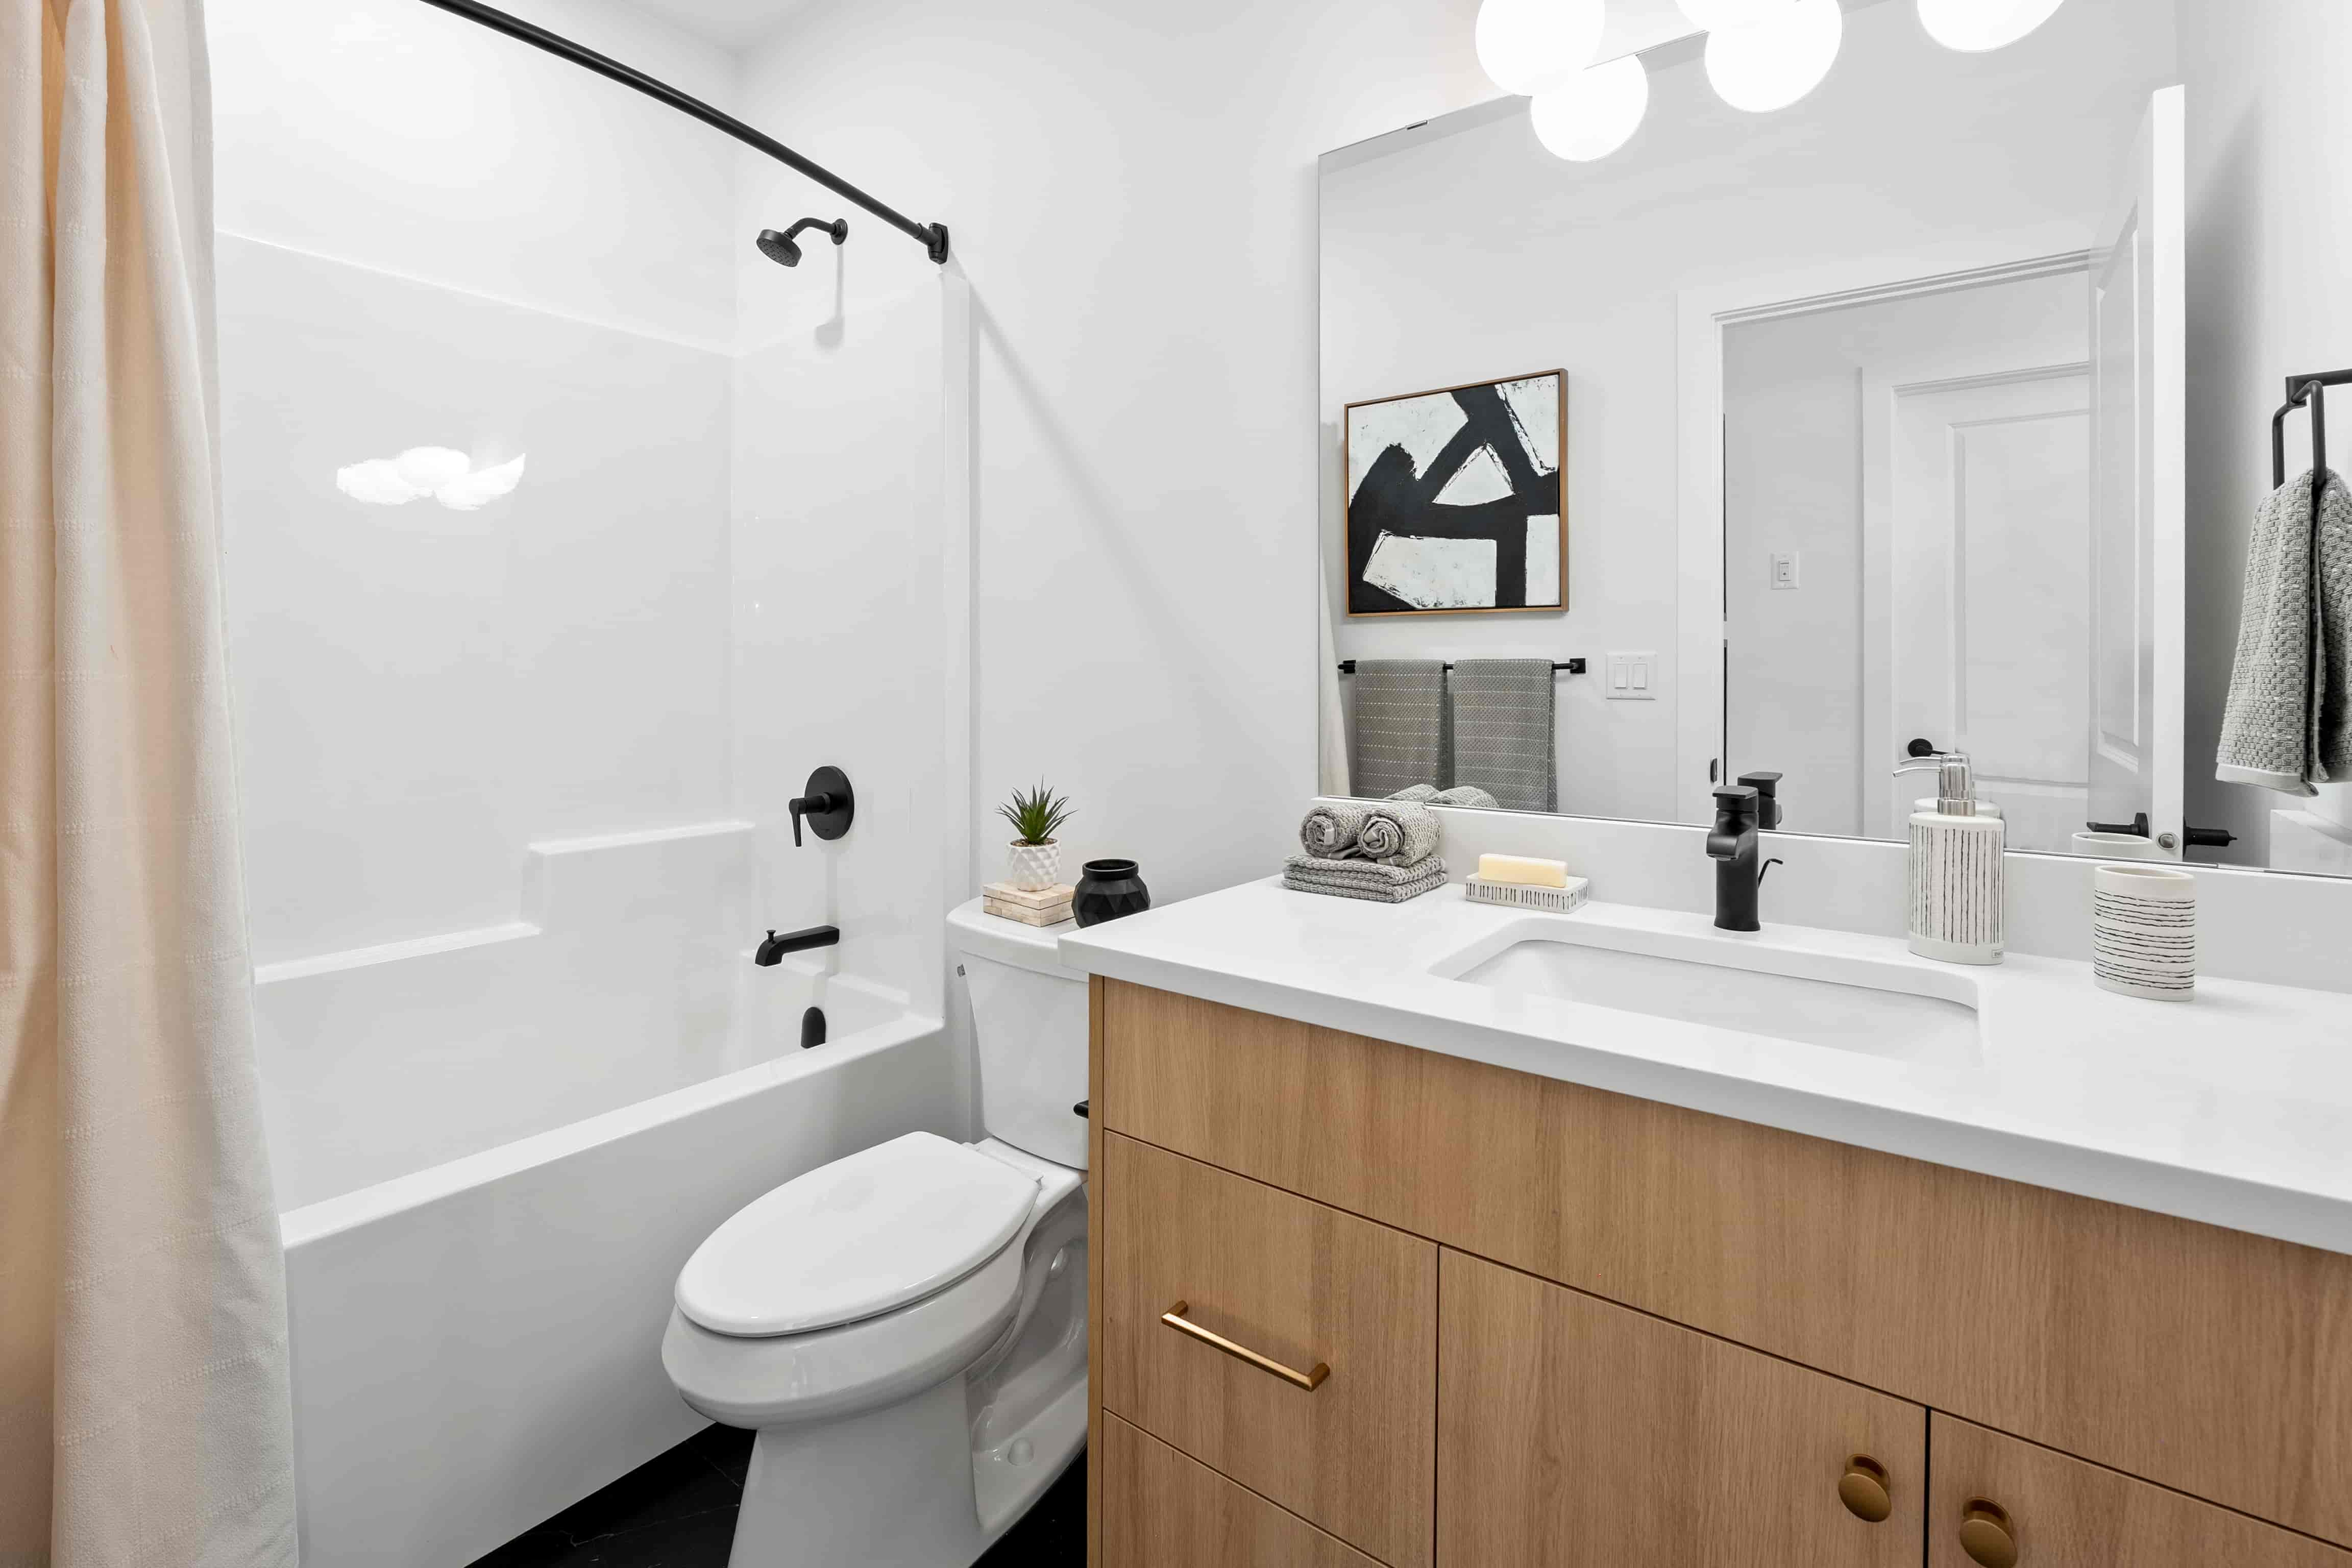
Have you ever walked into your bathroom, looked at the chipped tile and the leaking faucet, and thought, "I’ll just tear it all out this weekend"? Stop right there. The bathroom is the smallest room in the house, but it is the most complex. It crams plumbing, electrical, ventilation, and waterproofing into a tight 40-square-foot box.
Experimenting with master bathroom renovation ideas without a military-grade plan is a recipe for a half-finished disaster and a blown budget. Whether you are dreaming of a spa-like retreat or just a functional powder room, the bathroom remodel steps highlighted here will guide you through the chaos, ensuring you don't miss a single step from demolition to the final towel rack.
Phase 1 of Bathroom Remodel Steps (Planning & Budget)
Before you buy a single tile, you need a roadmap.
Set the Budget: The average mid-range bathroom remodel costs between $15,000 and $25,000. Add a 20% contingency fund for "surprises" (like finding mold behind the shower wall).
Choose Your Scope: Are you doing a "Rip-and-Replace" (keeping the toilet and shower in the same spot) or a "Reconfiguration" (moving plumbing)? Moving the toilet stack is expensive, decide now if it's worth it.
Hire the Pros: Unless you are a licensed plumber, don't move pipes. Find a contractor, or at least a plumber and electrician, early. Good ones are booked months out.
Phase 2: Logistics & Purchasing For Bathroom Remodel
Measure Everything: Don't guess. Measure the vanity space, the toilet "rough-in" distance (standard is 12 inches), and the door swing.
Order Materials EARLY: Supply chains are stable but may require significant time to process orders and complete the delivery. Order your tile, vanity, and tub at least 4 weeks before work starts. You cannot start tiling if the tile is stuck on a container ship.
Pull Permits: Yes, you likely need a permit. If you are changing plumbing or electrical, the city needs to inspect it. Skipping this can hurt your home's resale value later.
Phase 3: The Bathroom Remodelling Work Begins
Demolition: Shut off the water! Remove the vanity, toilet, and tile.
The "Behind the Walls" Check: Look for water damage or rotting subfloors. Fix this now, or your new tile will crack later.
Rough-In Work: The plumber runs new lines; the electrician runs wires for that new vanity light.
Waterproofing: This is critical. Ensure your contractor uses a modern waterproofing system (like RedGard or Schluter-Kerdi) behind the shower tile. Greenboard drywall is not enough for a shower.
Phase 4: The Bathroom Remodel Steps Complete
Tiling & Grouting: The room finally starts to look pretty.
Install Fixtures: The toilet, vanity, and faucets go in.
Accessories: Towel bars, mirrors, and toilet paper holders.
The "Punch List": Walk through and check everything. Does the toilet flush? Does the shower drain fast? Is the grout sealed?
Conclusion
A bathroom renovation is a marathon, not a sprint. By following a structured checklist, you avoid the nightmare of having a toilet sitting in your living room for three months waiting for a part. Plan the work, work the plan, and enjoy your new sanctuary.